
This week IMAGINE Crafts and Dreamweaver Stencils are featuring a Blog Hop showcasing our fabulous products and providing some inspiration for you to get creative! Be sure to leave your comments on each artist’s post that you visit for your chance to win a fabulous prize that includes IMAGINE Crafts and Dreamweaver products. Contest closes at 11:59pm PST on Sunday, June15th.


:::::::::::::::::::::::::::::::::::::::::::::::::::::::::::::::::::::
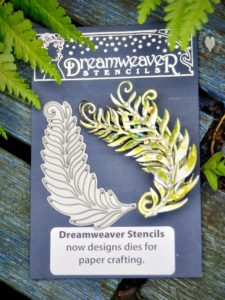 When I first saw the selection of dies on the Dreamweaver stencil website, this one cought my eye in a second: Petite Fern. All my closest friends know me for my fairy obsession. My secret identity is the one of a fairy, and that’s why I collect everything fairytale-ish.
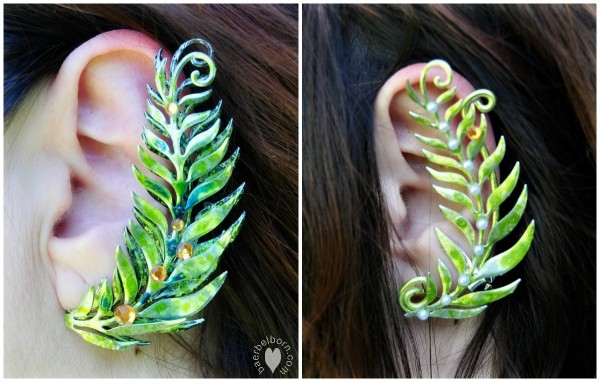
Ferns have always been one of the most romantic fairytale structures in nature. So I ordered the elegant and well designed die to play with it. Later I saw the talented jewelry designer Jackie Hall, who makes the most fairy like earrings I have ever seen. The inspiration from Jackie (thank you! Unfortunately she has no website) plus my little Dreamweaver fern made my day: I created a fairy fern earring.
Material needed:
Petite Fern die
old soda can, protective gloves and goggles, old scissors
die cutting machine
Imagine Crafts inks (fireworks, irRESISTible in green and blue tones)
rhinestones, pearls, ear clips
Instructions:
Carefully cut into the soda can, use some old or cheap scissors because cutting metal may damage it (never happened to me). Cut a rectangle that fits into your die cutting machine.
Cut the metal with your die, use a metal shim when cutting and run the metal through the machine two or three times, just to make sure everything is properly cut.
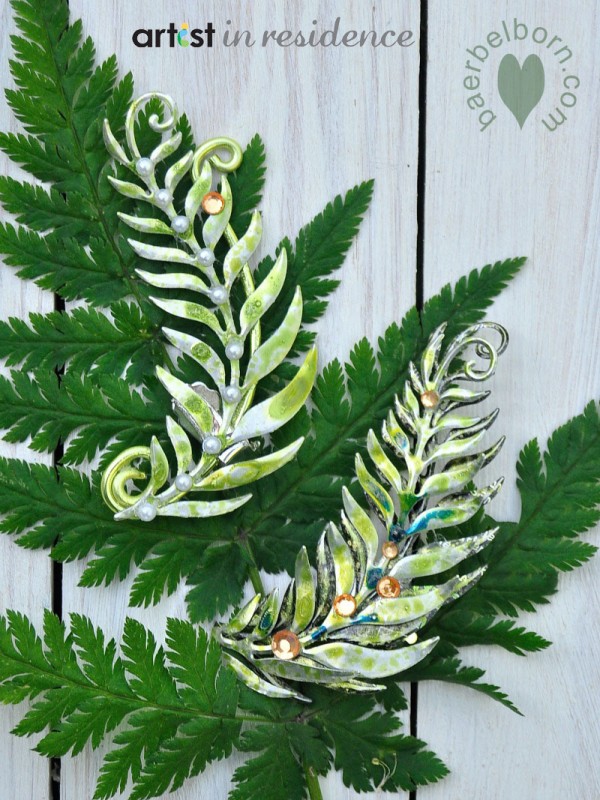
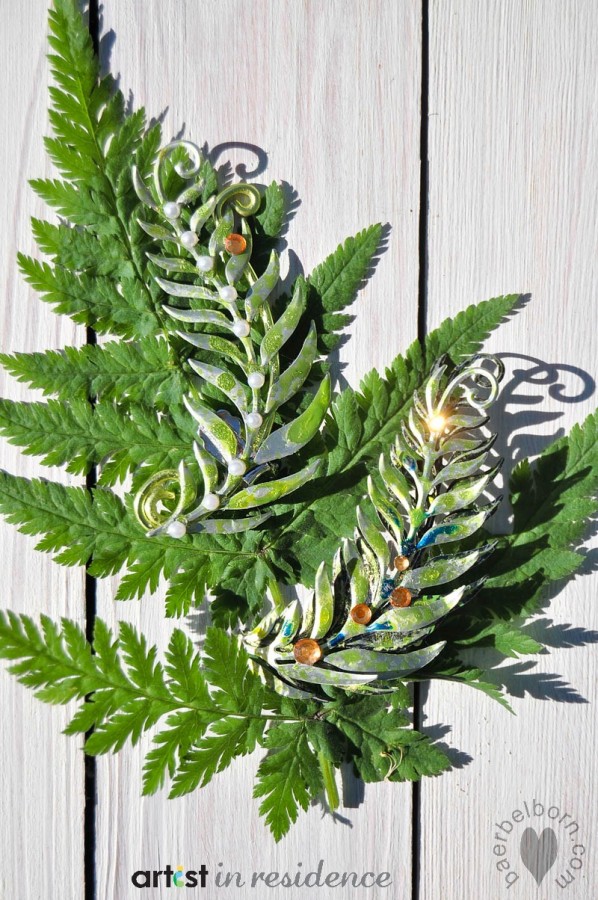
Put your cut fern on an old newspaper and spray with fireworks and/or irRESISTible from Imagine Crafts. I used green and blue tones to match the fairy theme.
After the ink has dried you may attach some embellishments like rhinestones or pearls. One of my earrings has got an additional swirl made with jewelry wire.
When you are pleased with the result attach an ear clip on the back, try to find a spot where the clip is invisible. Do not glue the clip to the bottom of the fern, the best position is in the center because you use the clip on your outer ear, not your earlobe.
I hope you like the fairy fern and try this on your own. And thank you so much for hopping!
::::::::::::::::::::::::::::::::::::::::::::::::::::::
Here are the other posts from the Artists In Residence for today:
And presenting the posts from the Dreamweaver Design Team for today:
***Blog Hop Hint – if you click on a link that takes you to a page saying something like “Sorry this page cannot be found” just click on the header at the top of the blog (usually a picture or the blog’s name) and it will take you to that blog’s most recent post. That post *should* be our hop. If not, you can probably scroll down a short way to find the hop post.
Support is LOVE
Gefällt mir:
Gefällt mir Wird geladen …

This week IMAGINE Crafts and Dreamweaver Stencils are featuring a Blog Hop showcasing our fabulous products and providing some inspiration for you to get creative! Be sure to leave your comments on each artist’s post that you visit for your chance to win a fabulous prize that includes IMAGINE Crafts and Dreamweaver products. Contest closes at 11:59pm PST on Sunday, June15th.
:::::::::::::::::::::::::::::::::::::::::::::::::::::::::::::::::::::
Ferns have always been one of the most romantic fairytale structures in nature. So I ordered the elegant and well designed die to play with it. Later I saw the talented jewelry designer Jackie Hall, who makes the most fairy like earrings I have ever seen. The inspiration from Jackie (thank you! Unfortunately she has no website) plus my little Dreamweaver fern made my day: I created a fairy fern earring.
Material needed:
Petite Fern die
old soda can, protective gloves and goggles, old scissors
die cutting machine
Imagine Crafts inks (fireworks, irRESISTible in green and blue tones)
rhinestones, pearls, ear clips
Instructions:
Carefully cut into the soda can, use some old or cheap scissors because cutting metal may damage it (never happened to me). Cut a rectangle that fits into your die cutting machine.
Cut the metal with your die, use a metal shim when cutting and run the metal through the machine two or three times, just to make sure everything is properly cut.
Put your cut fern on an old newspaper and spray with fireworks and/or irRESISTible from Imagine Crafts. I used green and blue tones to match the fairy theme.
After the ink has dried you may attach some embellishments like rhinestones or pearls. One of my earrings has got an additional swirl made with jewelry wire.
When you are pleased with the result attach an ear clip on the back, try to find a spot where the clip is invisible. Do not glue the clip to the bottom of the fern, the best position is in the center because you use the clip on your outer ear, not your earlobe.
I hope you like the fairy fern and try this on your own. And thank you so much for hopping!
::::::::::::::::::::::::::::::::::::::::::::::::::::::
Here are the other posts from the Artists In Residence for today:
Darsie Bruno
Isha Gupta
Sylvia Blum
And presenting the posts from the Dreamweaver Design Team for today:
Dream It Up!
Pam Hornschu
Kristi Parker Van Doren
Louise Healy
Gill Wilson
Kristine Reynolds
Laura Drahozal
Lea Kimmel
***Blog Hop Hint – if you click on a link that takes you to a page saying something like “Sorry this page cannot be found” just click on the header at the top of the blog (usually a picture or the blog’s name) and it will take you to that blog’s most recent post. That post *should* be our hop. If not, you can probably scroll down a short way to find the hop post.
Support is LOVE
Teilen mit:
Gefällt mir: